
How to Measure Blood Pressure Correctly at Home
Measuring blood pressure at home is one of the best ways to track your cardiovascular health between clinic visits. Consistent, accurate readings help you and your clinician spot trends, adjust treatment, and manage risk.
At EveMedical we focus on practical guidance and reliable tools for home monitoring. Before you start, make sure you have the right equipment and a simple routine you can repeat every time. Visit EveMedical to explore monitoring products and supplies that support safe home use.
Why accurate home blood pressure matters
Home readings often give a clearer picture of your daily blood pressure than a single clinic measurement. They reduce “white coat” effects and let you track how lifestyle, medication changes, and time of day affect your numbers. If you plan to monitor regularly, consider a reliable setup such as a dedicated home monitor or integrated system—see options under Home Vital Signs Monitor Systems for devices designed for repeat measurements and easy data tracking.
Choose the right monitor and cuff
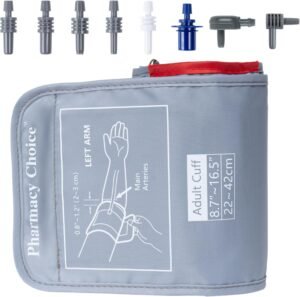
There are two key choices: a validated automatic arm cuff monitor and the correct cuff size. Arm monitors are preferred over wrist devices for consistency. When buying, look for cuff compatibility and replacement parts under Blood Pressure Monitor Cuffs.
Using the wrong cuff size is a common source of error. If your upper arm is larger than standard, a larger replacement cuff is available—consider products such as the Large Blood Pressure Cuff, Adult Cuff that fit broader ranges and maintain accuracy.
Prepare before measurement
Preparation reduces random variation. Rest quietly for 5 minutes in a comfortable chair with your feet flat and back supported. Avoid caffeine, smoking, heavy exercise, and large meals for at least 30 minutes before measuring.
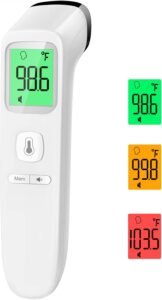
Record the ambient context along with the reading. Many people also track temperature and other vitals at home—if you monitor multiple signs, check supplies under the Digital Medical Thermometers category. A fast option is the No-Touch Thermometer for Adults and Kids, which lets you quickly log temperature with minimal disruption to your routine.
Proper positioning and arm placement
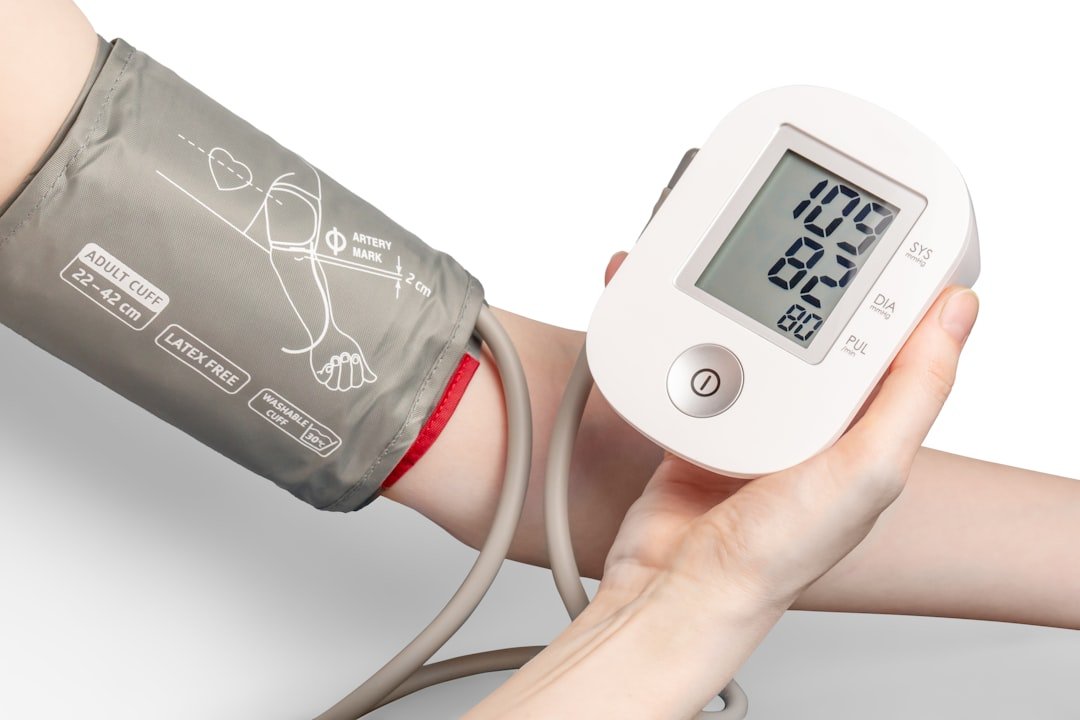
Correct body and arm position are critical. Sit upright with your back supported and both feet flat on the floor. Rest the arm you’re using on a table so the cuff is at heart level. Remove tight clothing and place the cuff on bare skin about 2–3 cm above the elbow crease, aligning the artery mark on the cuff with the inside of your arm.
If you also want to record oxygen saturation or verify pulse, consider compact monitoring tools like Handheld Pulse Oximeters for quick supplementary checks.
Step-by-step measurement
Follow these steps for a standard automatic arm cuff:
- Sit quietly for 5 minutes before measuring.
- Place cuff on bare upper arm, snug but not tight; artery marker positioned correctly.
- Rest the arm at heart level on a flat surface; keep back supported and feet flat.
- Start the monitor and remain still and silent during inflation and reading.
- Record the systolic (top) and diastolic (bottom) numbers, plus heart rate if displayed.
- Repeat the measurement once after 1–2 minutes; use the average of the two readings for that session.
Monitoring other vitals and documenting trends
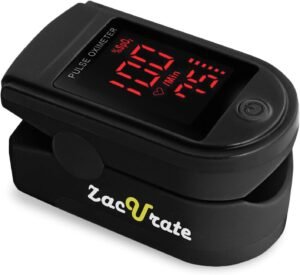
Blood pressure is one component of cardiovascular health. Recording pulse rate, oxygen saturation, and temperature alongside blood pressure gives a fuller picture. A simple, accurate fingertip device like the Zacurate 500 Series Fingertip Pulse Oximeter is convenient for pulse and SpO2 checks and complements regular blood pressure logs.
Use a notebook, a spreadsheet, or the app that accompanies your monitor. Note date, time, body position, which arm was used, activities within 30 minutes (caffeine, exercise), and any symptoms (dizziness, chest discomfort). Consistent timing—morning and evening, or as advised—produces the most useful trend data.
Common mistakes and troubleshooting
Watch for these frequent errors:
- Wrong cuff size or placement — yields inaccurate readings.
- Talking, crossing legs, or unsupported back — elevates readings.
- Taking single readings and assuming it reflects overall control — use repeated measures.
- Batteries low or loose cuff connector — check equipment and replace batteries or cuff if inconsistent.
If readings are unexpectedly high or low, recheck technique, try the other arm, and repeat measurements after 5–10 minutes. If your monitor consistently gives odd results, compare it with a clinic or pharmacy device or have the cuff and unit checked for compatibility and wear.
Tracking, sharing readings, and when to contact a clinician
Bring a record or export from your monitor when you see your clinician. Share average values over days or weeks rather than single spikes. Routine reports help guide treatment decisions. If you observe sustained high readings (as agreed with your clinician) or symptoms like chest pain or fainting, contact medical help promptly.
For ongoing care, choose equipment that stores readings or syncs with an app so you can easily compile and share data at appointments.
Quick checklist
- Use a validated arm cuff monitor and the correct cuff size.
- Rest 5 minutes before measuring; avoid caffeine and smoking 30 minutes prior.
- Sit with back supported, feet flat, cuff at heart level.
- Measure twice per session, 1–2 minutes apart, and average the results.
- Record time, arm used, posture, recent activity, and symptoms.
- Keep batteries fresh, connectors tight, and replace worn cuffs.
FAQ
How often should I take readings at home?
For routine monitoring, many clinicians recommend morning and evening readings for one week before visits, or follow your clinician’s plan.
Which arm should I use?
Use the arm with higher readings if there is a persistent difference between arms. At minimum, check both arms initially to determine which is appropriate for ongoing use.
Can I use a wrist monitor?
Wrist monitors are more sensitive to position and movement. Arm cuff monitors are preferred for consistent, accurate results.
What if my cuff doesn’t fit?
Order the correct cuff size—many monitors accept replacement cuffs. A properly sized cuff is essential; consider larger cuff options if needed.
Should I log every reading?
Yes. Regular logging helps identify trends and the impact of lifestyle or medications. Use an app or notebook to track readings and notes.
How do I know my monitor is accurate?
Compare home readings with a clinic device occasionally. If results differ substantially, have the monitor and cuff inspected or recalibrated per the manufacturer’s guidelines.
Conclusion
Measuring blood pressure at home is straightforward when you use the right equipment, a repeatable routine, and careful documentation. Focus on correct cuff size and placement, consistent timing and posture, and recording context for each reading. A reliable home setup—including a validated cuff, supplementary devices for other vitals, and clear logs—gives you and your clinician the actionable information needed to manage blood pressure effectively.
Products Featured in This Article
Large Blood Pressure Cuff, Adult Cu…
Product description Add to Cart Add to Cart Add to Cart Add to Cart Add to…
Zacurate 500 Series Fingertip Pulse…
The Zacurate Pro Series 500DL fingertip pulse oximeter is manufactured according to the CE and FDA…
No-Touch Thermometer for Adults and…
Product description GoodBaby Non-contact Thermometer – Ideal Choice for Adults and Kids Taking temperature measurements has…