
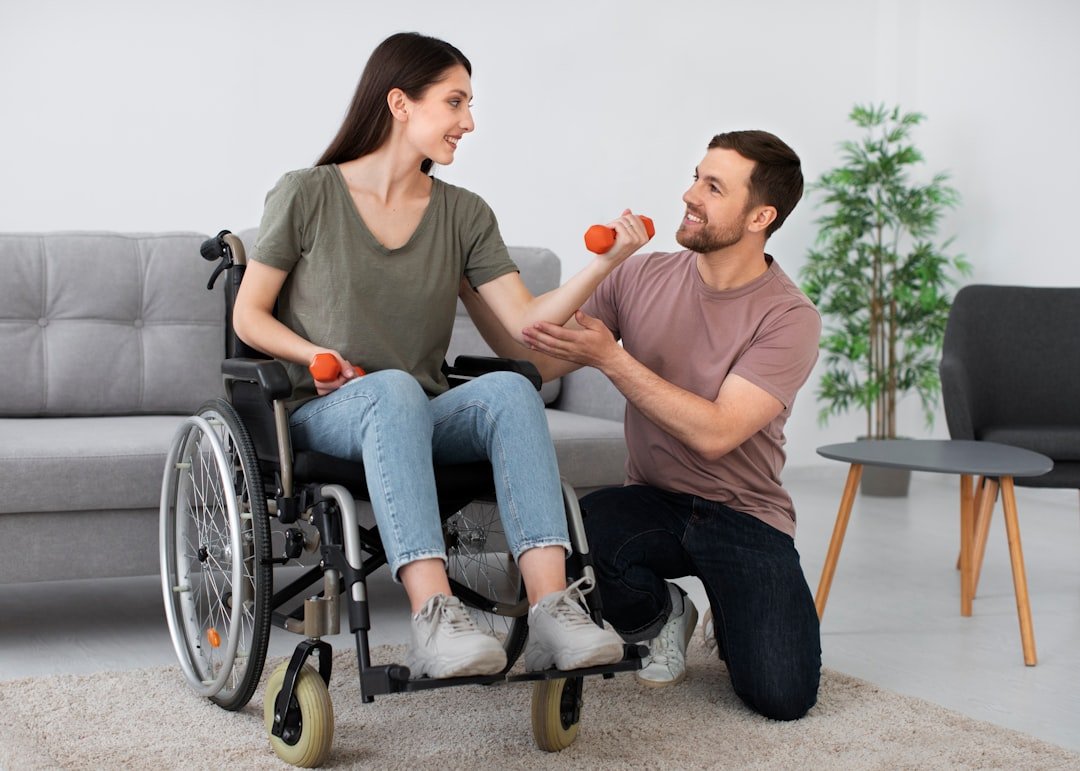
Simple Rehabilitation Exercises for Improving Mobility at Home
Regaining mobility after injury, surgery, or a period of inactivity is a step-by-step process. With consistent, focused exercises you can improve strength, balance, and confidence without leaving home.
This guide gives practical exercises, safety tips, and suggestions for simple equipment to support your rehab routine. Use the sections below to build a daily plan that fits your goals and ability level.
Simple At-Home Mobility Assessment
Before starting exercises, take a quick baseline: how far can you walk without stopping, how many times can you stand from a chair in one minute, and can you step up one stair safely? Track these measures weekly to monitor progress. If you need objective home monitoring for heart rate, oxygen or blood pressure during rehab sessions, consider a reliable home monitoring product such as a Home Vital Signs Monitor Systems to log trends and support safe progression.
Warm-Up and Flexibility Exercises
A 5–10 minute warm-up increases blood flow and reduces stiffness. Focus on gentle movements and stretching that mimic your daily activities.
- March in place or walk slowly around the room for 2–3 minutes.
- Ankle circles and pumps: sit and rotate each ankle 10 times, then point/flex the foot 10 times.
- Seated or standing hamstring stretch: heel on a low step, lean forward with a straight spine for 15–30 seconds per side.
For more product options and basic home rehab supplies, see the general equipment category at EveMedical.
Strength-Building Exercises
Strength underpins improved mobility. Start with bodyweight exercises, progressing to light resistance as tolerated. Aim for 2–3 sets of 8–15 repetitions depending on fatigue and form.
- Seated knee extensions: sit tall, straighten one knee and hold 2–3 seconds.
- Bridges: lie on your back with knees bent; lift hips until a straight line from shoulders to knees.
- Heel raises: stand behind a chair and rise onto toes, lower slowly.
If pain limits your practice, adjunctive options such as a TENS Unit can be useful for short-term, non-pharmacologic pain control to enable participation in exercises. Use devices according to instructions and clinician guidance.
Balance and Gait Training
Improving balance reduces falls and builds walking confidence. Integrate balance work daily, starting with supported tasks and progressing to less support.
- Double-leg stance: stand near a sturdy surface for 30–60 seconds, progress to eyes closed when safe.
- Single-leg stance: hold onto a countertop and try lifting one foot for 10–20 seconds; repeat 3 times per side.
- Heel-to-toe walk: place one foot directly in front of the other along a straight line for 10–20 steps.
If you require assistive walking devices during gait practice, forearm crutches offer forearm support and better arm positioning for long walks—see options like Forearm Crutches.
Functional Mobility: Sit-to-Stand and Stair Practice
Functional tasks are the most meaningful rehab activities because they transfer directly into daily life. Practice sit-to-stand, stair climbing, and reaching in controlled repetitions.
- Sit-to-stand: start with a higher seat if needed. Lean forward, push through heels, and stand without using hands if possible. Perform 8–12 repetitions.
- Step-ups: step onto a low step with the affected or weaker leg leading, then step down slowly.
- Reaching: while seated, practice reaching forward and to the sides to improve trunk control.
If standing is difficult, a lift-assist chair can reduce strain while preserving function and offering graded challenge — consider a Power Lift Recliner Chairs for safer sit-to-stand practice when needed.
Safe Transfers and Shower Practice
Transfers and bathing are common challenges. Practice transfers with progressive independence and make the bathroom safer while you rehab.
- Transfer technique: place feet hip-width, scoot to edge, lean forward, push through legs and stand—reverse to sit.
- Shower entry: practice stepping in and out with a rail or stable surface for support.
A secure shower seat supports longer, safer showering while you work on balance and transfers—look for a durable option like the Shower Chair for Inside Shower to reduce fall risk and conserve energy during hygiene tasks.
Using Assistive Devices and Transfer Aids
As mobility improves, you may alternate between assistance and independent practice. Learn safe techniques for any equipment you use so the device helps rather than hinders progress.
- Practice donning and doffing crutches or canes outside of walking so you are competent before depending on them.
- Pair transfer aids with practice: a smooth patient transfer sheet makes bed-to-chair moves safer and less strenuous for caregivers and patients.
When transfers involve care partners or heavier assistance, a quality Patient Transfer Sheets can simplify repositioning and reduce strain on both parties.
Monitoring Pain, Fatigue and Recovery
Consistent monitoring helps you progress safely. Track pain, exertion, and vital signs when your condition or clinician recommends it.
- Use a simple pain scale (0–10) before and after exercise to detect problematic increases.
- Note shortness of breath, dizziness, or unusual lightheadedness and stop exercise if present.
For home-based tracking of oxygen saturation and pulse during exertion, a compact Handheld Pulse Oximeter provides quick readouts and can guide safe progression of walking and stair practice.
Quick Safety Checklist
- Warm up 5–10 minutes before exercises.
- Start slow: 1–2 sets of 8–12 reps, progress by adding reps or resistance.
- Keep a stable surface nearby when practicing balance.
- Use assistive devices or seating aids when needed to prevent falls.
- Stop and seek advice if you experience chest pain, severe shortness of breath, sudden dizziness, or new neurologic symptoms.
FAQ
- How often should I do these exercises? Aim for daily short sessions (15–30 minutes) or at least 3–5 times per week, adjusting by tolerance and clinician advice.
- When should I increase difficulty? Increase reps, sets, or resistance once you can complete current exercises with good form and without increased pain for 48 hours afterward.
- Are assistive devices a sign of failure? No. Devices like crutches or shower chairs support safety and allow graded independence while you build strength.
- Can pain be managed without medication? Sometimes. Heat, ice, pacing, and adjunctive tools such as a TENS Unit or careful rest may help; always follow clinician guidance.
- How do I know if I need professional help? Seek a clinician if mobility is not improving after a few weeks, if pain worsens, or if you have new neurological symptoms or instability that increases fall risk.
Conclusion
Improving mobility at home is achievable with short, daily practice that targets strength, flexibility, balance, and function. Use simple monitoring and supportive equipment when needed—tools such as home vital signs monitors, forearm crutches, or a patient transfer sheet—to stay safe and confident. Small, consistent gains compound over weeks; track progress and adapt as you improve.
Products Featured in This Article
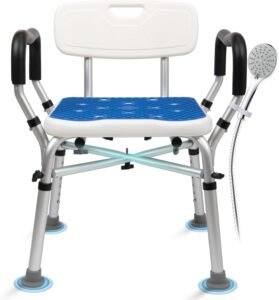
Shower Chair for Inside Shower 500l…
From the brand Modundry Strive to create a healthy, clean, and comfortable living space! Modundry is…