
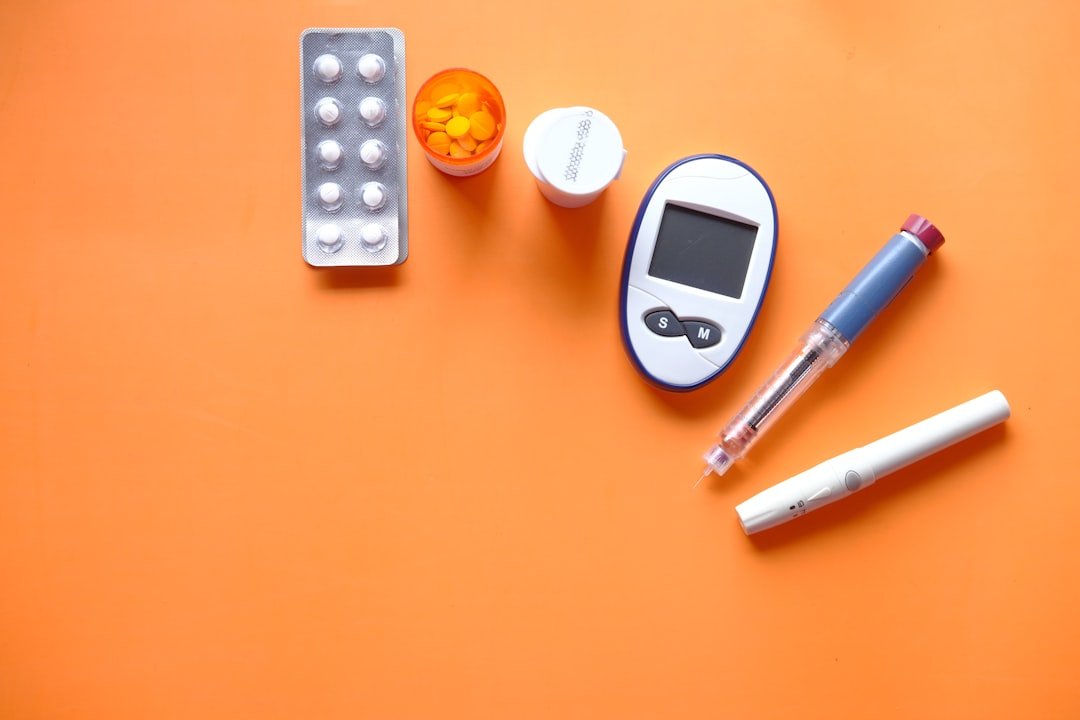
Regular glucose testing is easier and less stressful when your supplies are organized and accessible. A clear system saves time, reduces errors, and helps you stick to your monitoring routine.
This guide gives practical, trustworthy tips for arranging meters, strips, lancets, and disposables at home so testing becomes predictable and safe.
Set up a dedicated testing station
Choose a single, well-lit spot for testing—ideally a small table or shelf in the kitchen or bedroom where you perform daily routines. Keep the meter, spare batteries, instruction booklet, and a log or app device together so everything you need is in one place. If you’re comparing meter options or need a replacement, check product choices under Blood Glucose Meters.
Organize blood glucose test strips for easy access
Store test strips in their original vial or sealed packaging and keep them upright to prevent contamination. Use small, clear containers or labeled drawer dividers to separate open vials from unopened stock. Reserve a front-facing slot for the current vial in use and back rows for backups. If you purchase strips in bulk, review sizes and brands like those listed under Blood Glucose Test Strips to match meter compatibility.
Sharps safety and disposal
Handling lancets and needles safely is essential. Immediately place used lancets into a puncture-resistant container; do not reuse lancets. Keep a small, clearly labeled container at the testing station and replace it before it becomes full. When it’s time to dispose of medical waste, use an approved option such as the Medical Sharps Containers to reduce risk to household members and waste handlers.
Pack for travel and outings
Create a grab-and-go kit for day trips and a slightly larger travel kit for overnight or extended travel. Include your meter, spare strips, lancets, alcohol wipes, a small sharps container, spare batteries, and quick snacks for low readings. For people carrying insulin or temperature-sensitive supplies, an Insulin Travel Cooler Cases protect insulin and other meds during transit and help you stay prepared.
Maintain meter accuracy with control solutions and routine checks
Test your meter periodically with control solution after opening a new box of strips, after dropping the meter, or if readings don’t match how you feel. Store control solutions at recommended temperatures and replace them before they expire. Keep a small kit with instructions and test drops near your meter; you can find compatible options under Glucose Meter Control Solutions.
Choose and organize lancing devices and lancets
Decide on a lancing device that suits your comfort and dexterity, and keep a backup lancing device in your kit. Store unopened lancets in a sealed container and clearly separate used lancets in the sharps container. For easy restocking, consider ordering lancets and lancing devices together—see selections such as Diabetic Lancing Devices and compatible supplies like Diabetic Lancets.
Labeling, inventory and routine maintenance
Label containers with opening dates, lot numbers, and expiration dates—this prevents expired strips or solutions from being used. Keep a small inventory sheet on a clipboard near the testing station or use a simple app to track quantities. Rotate stock: use older boxes first and restock when you reach a predetermined low level. If you want an all-in-one example kit for backup or a second meter to keep at a different location, consider kits like the LinkSun G-425-1 Glucose Monitor Kit as a model for what to include.
Simple storage tools that work
Use clear plastic bins, divided drawer organizers, or small labeled baskets to keep things visible and separated. Magnetic labels on metal shelves, color-coded lids, or stickers can help family members quickly identify supplies. Keep alcohol wipes and spare batteries in a small resealable bag attached to the kit so replacements aren’t forgotten.
- Designate one testing spot and one travel kit.
- Keep current vial of strips separate from bulk stock.
- Replace sharps containers before they’re full.
- Perform control solution checks periodically.
- Label all containers with dates and lot numbers.
- Restock when supply reaches one-third remaining.
FAQ
Q: How often should I change lancets?
A: Change lancets after every use to reduce pain and infection risk; single-use lancets are inexpensive and safer than reusing.
Q: Where should I store test strips?
A: Store strips in their original container at room temperature, away from moisture and direct sunlight; close the vial immediately after removing a strip.
Q: Can I throw sharps containers in regular trash?
A: Use approved sharps containers and follow local disposal guidelines—many communities offer household hazardous waste drop-off or pharmacy take-back programs.
Q: How do I know when my meter needs recalibration or replacement?
A: If readings are inconsistent, the meter has been dropped, or control solution checks fail repeatedly, consult the meter manual and manufacturer support; consider replacing an older meter if problems persist.
Q: What should I pack for flying with supplies?
A: Carry testing supplies and medications in your carry-on, keep syringes/lancets in original packaging or with a doctor’s note if necessary, and use an insulated case for insulin. Check airline and TSA guidance before travel.
Conclusion
Organizing glucose testing supplies reduces daily friction and improves safety. Pick a dedicated spot, separate current supplies from backups, use proper sharps containers, and maintain a simple inventory system. A small effort to organize now saves time and prevents mistakes later—make a checklist today and assemble your kit so testing becomes a smooth part of your routine.
Products Featured in This Article
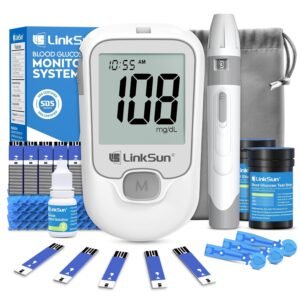
LinkSun G-425-1 Glucose Monitor Kit…
From the brand LinkSun Blood Glucose Monitor Blood Glucose Test Strips LinkSun Blood Pressure Monitor NOTE:…